Creating and using tags for products
You can add tags to your products to create your own filters and categories for your products.
There are two ways to add tags on products in eSwap.
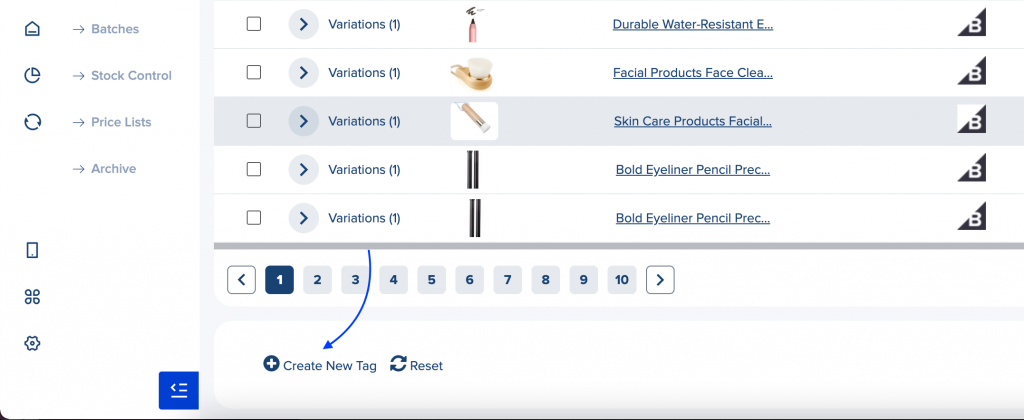
1. To create a new tag scroll down to the bottom of the page and click on Create new tag button. Here you need to add the tag name and colour and click on the Save tag button.

To assign tags to products navigate to the product summary page, click on Add New Tag button, select the tag you want and save.

2. You must go to Settings -> Tags and click on Create new tag button. Here you must give a name, colour and select where you want to use that tag, on products or on orders. Then click on the save button and you can see the added tag on the bottom of the products page.
