Configure SMTP or Gmail API
To give SMTP configurations you need to navigate to Apps go to Email tab or search for SMTP. Click on Install app button and give following configurations.
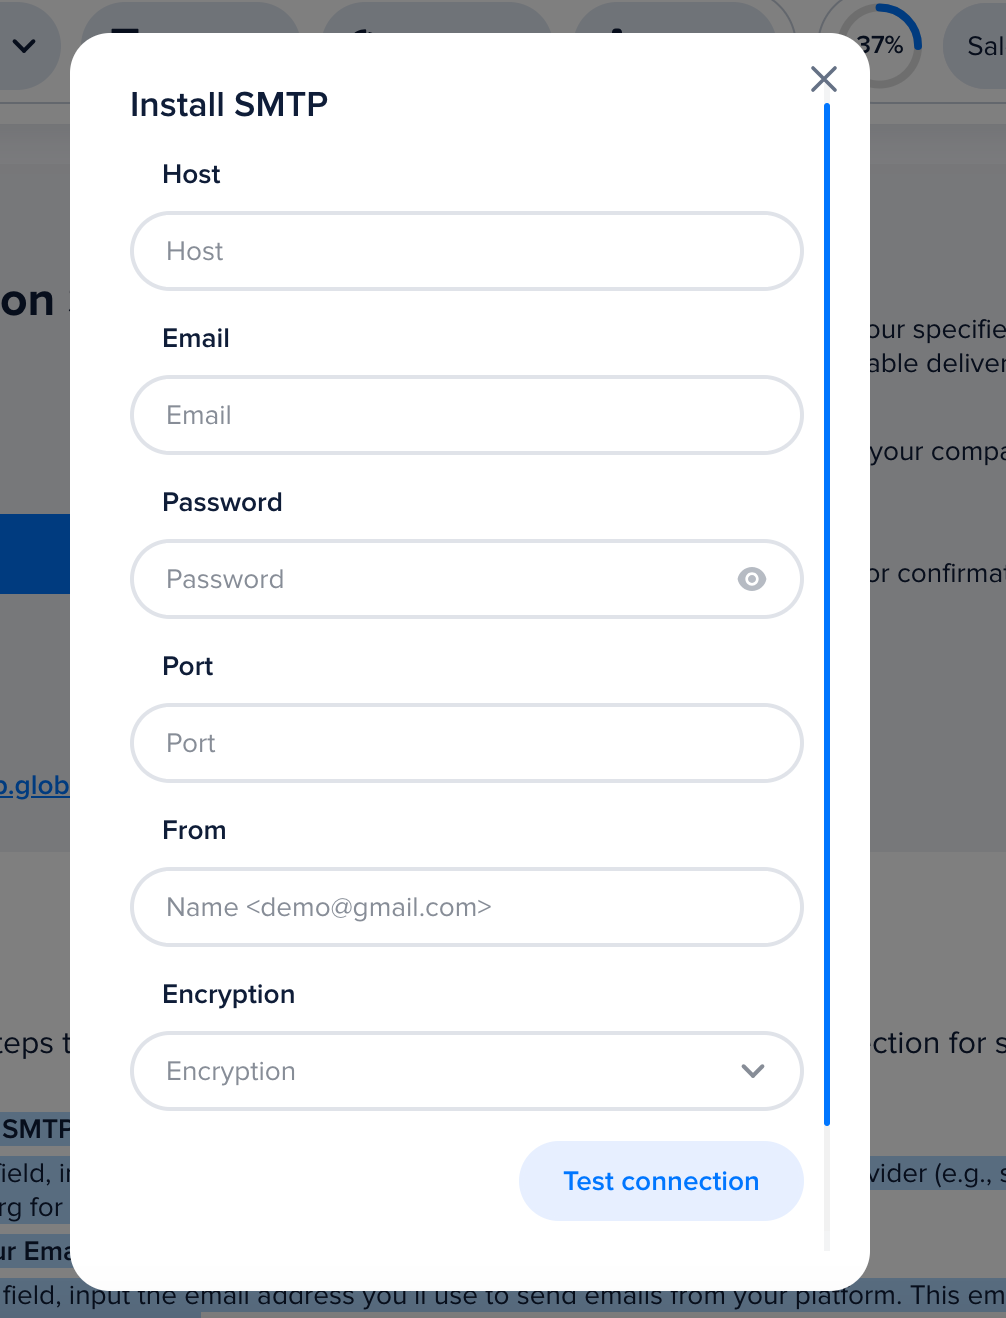
Step 1: Enter the SMTP Host
- In the Host field, input the SMTP server address provided by your email service provider (e.g., smtp.gmail.com for Gmail, smtp.mailgun.org for Mailgun).
Step 2: Enter Your Email Address
- In the Email field, input the email address you’ll use to send emails from your platform. This email address should be linked to the SMTP server you are using.
Step 3: Enter Your Password
- In the Password field, input the password associated with your email account or SMTP server. For some services, you might need to use an app-specific password instead of your regular email password.
Step 4: Enter the Port Number
- In the Port field, input the port number required by your SMTP server. Common SMTP port numbers are:
- 587 for TLS (most common)
- 465 for SSL
- 25 for non-encrypted connections
Step 5: Specify the Sender Name
- In the From field, input the name and email address that will appear in the “From” field of outgoing emails. Example: Your Company <yourcompany@example.com>.
Step 6: Choose the Encryption Method
- In the Encryption field, select the encryption method your SMTP server uses. Typically, the options are:
- TLS (Transport Layer Security)
- SSL (Secure Socket Layer)
- None for no encryption
Step 7: Test the Connection
- Before finalizing the setup, click the Test Connection button to ensure that all the entered credentials are correct and that the connection to the SMTP server is working.
Step 8: Complete the Setup
- Once the connection is successfully tested, click the Create button to finalize your SMTP integration. Your platform will now use this SMTP server to send emails.
After filling in all this information click on test connection and if everything is correct you’ll receive a success email to that email address.
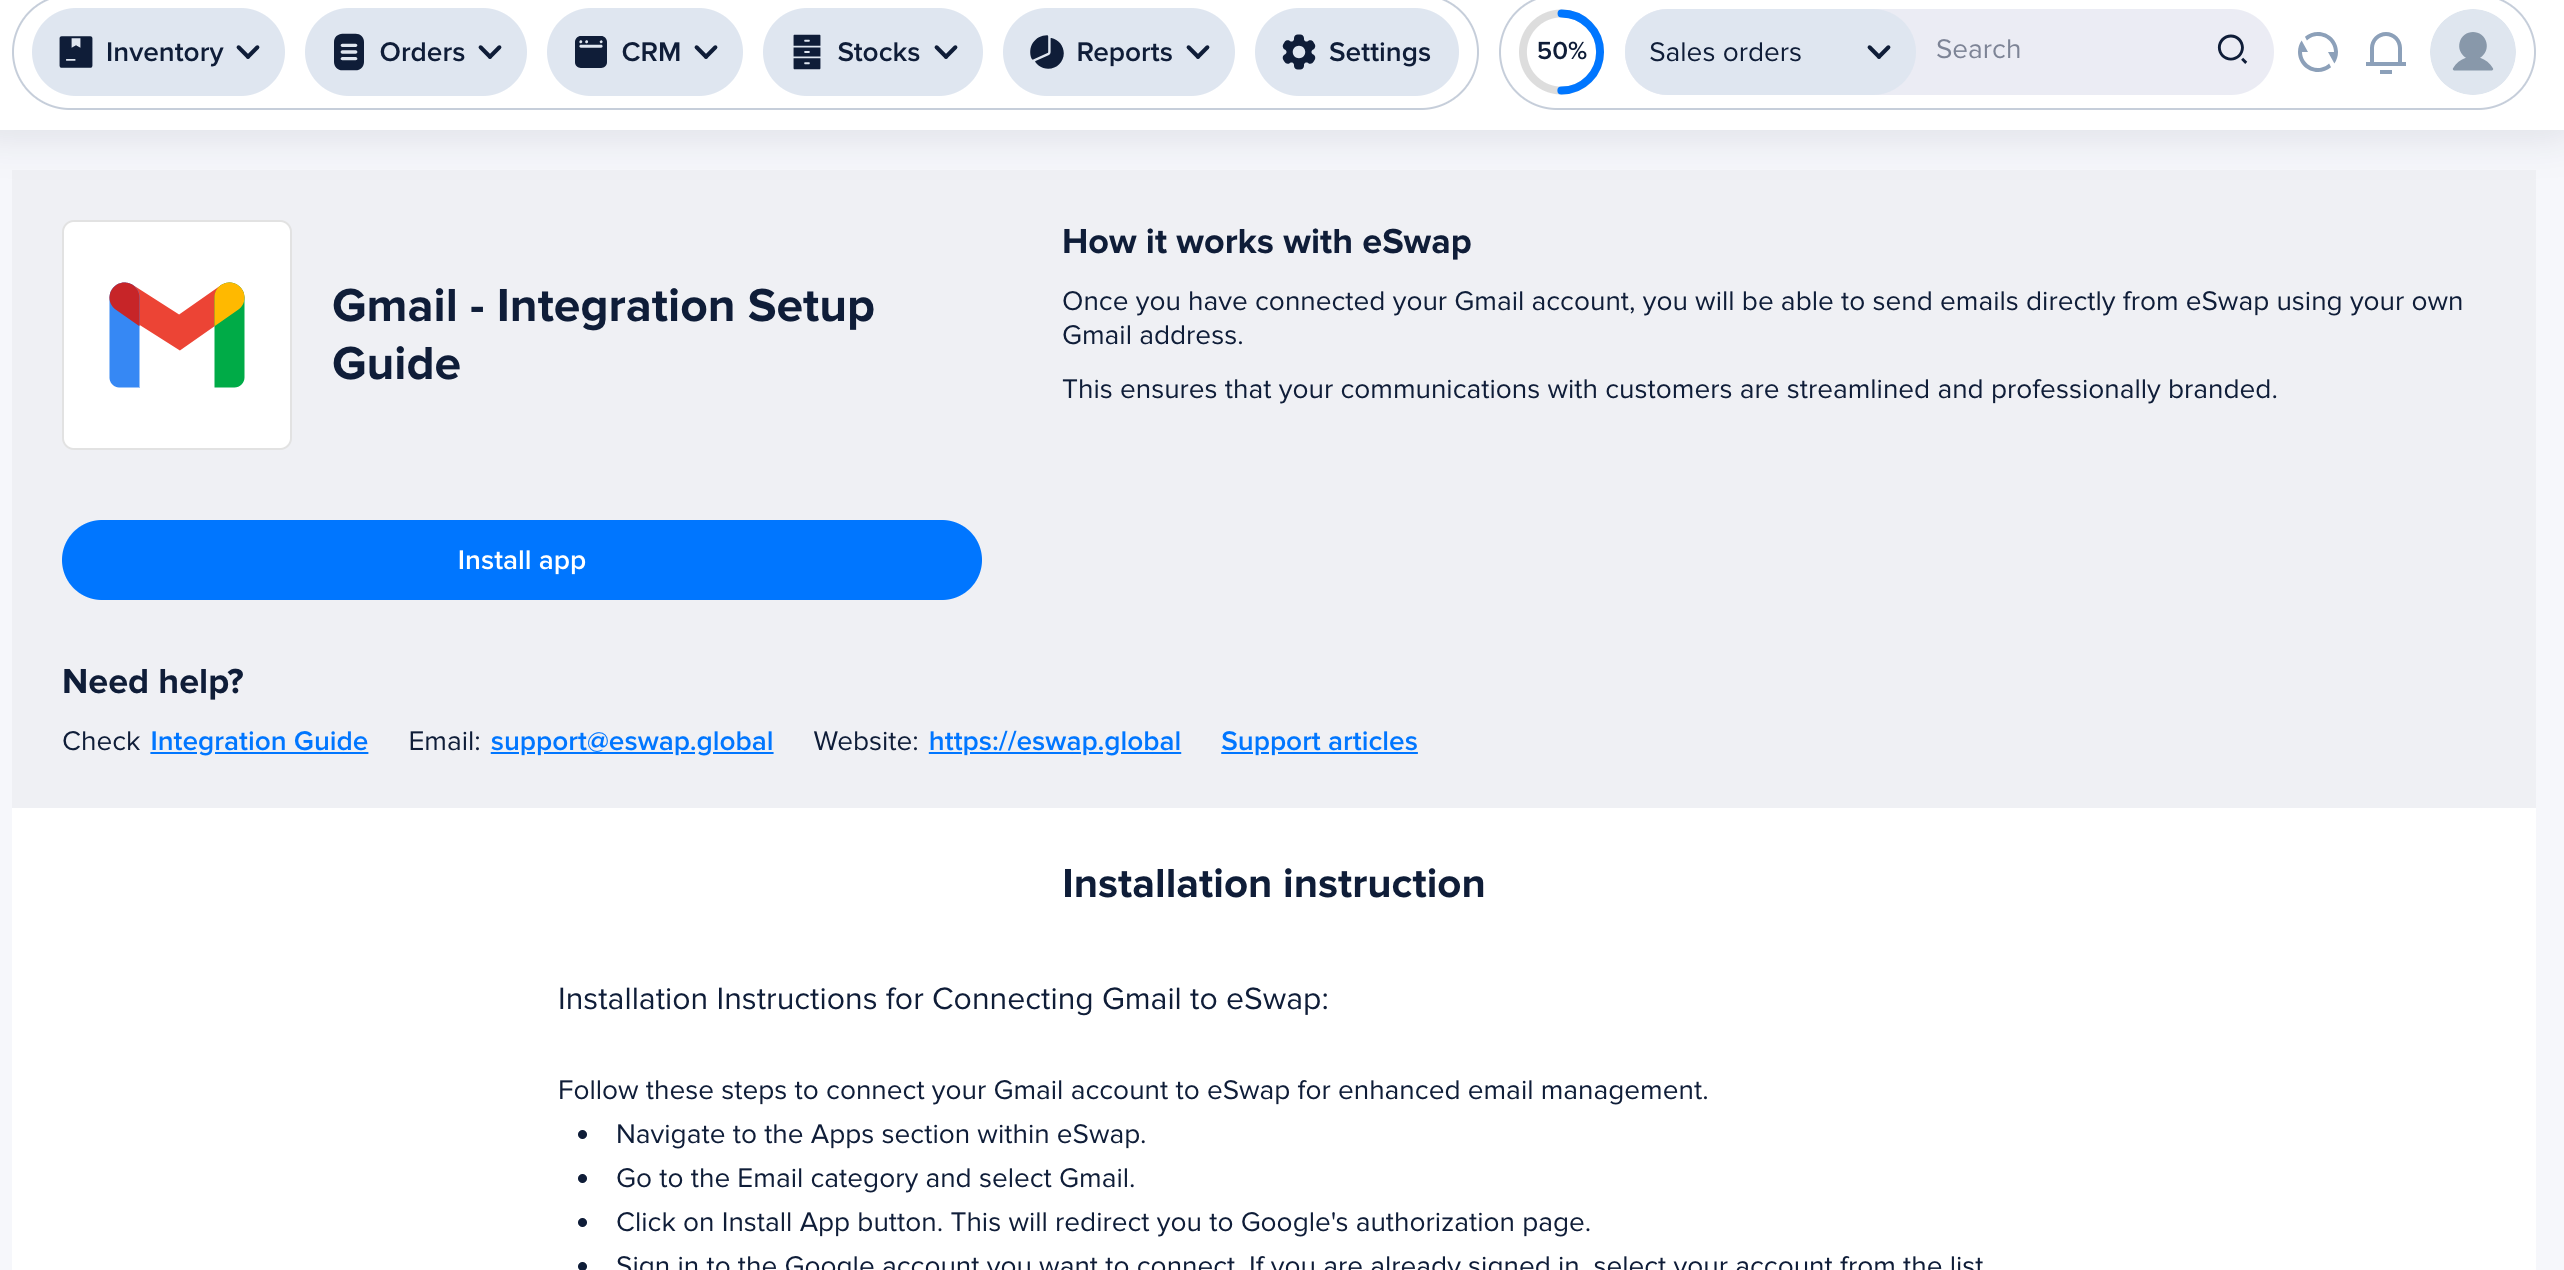
To connect Gmail you need to navigate to Apps go to Email tab or search for Gmail. Click on Install app button and follow these steps to connect your Gmail account to eSwap for enhanced email management.
- Navigate to the Apps section within eSwap.
- Go to the Email category and select Gmail.
- Click on Install App button. This will redirect you to Google’s authorization page.
- Sign in to the Google account you want to connect. If you are already signed in, select your account from the list.
- Click Continue to authorize eSwap to access your Google account.
- Review the permissions eSwap is requesting. Select the features that eSwap can access and click Continue.
NOTE: If you do not have Gmail API connected, your emails to customers will be sent from support@eswap.global.