How To Connect Shopify
Go to Apps -> Sales Channels. Select Manual option and Tap on Shopify and click on the Install App button.
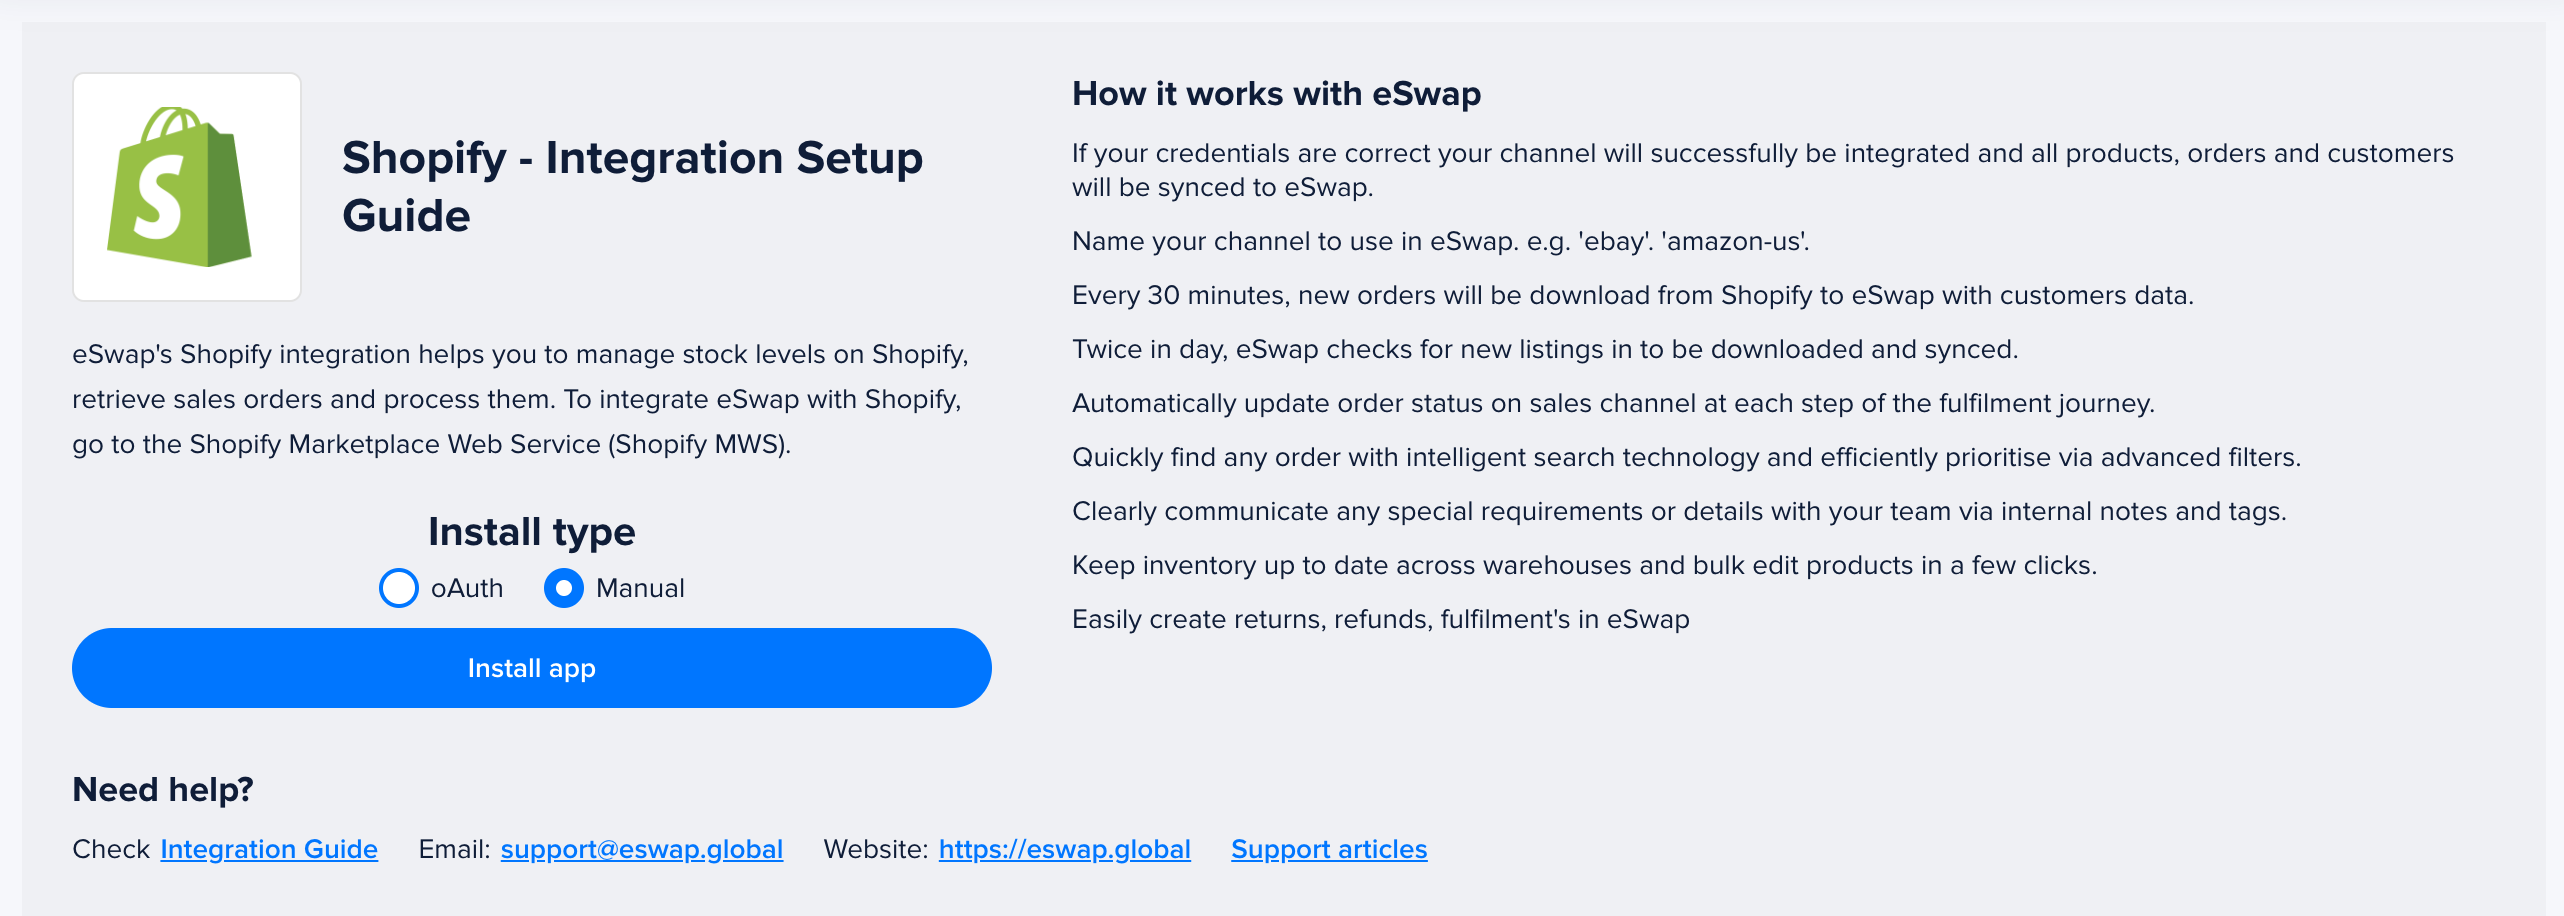
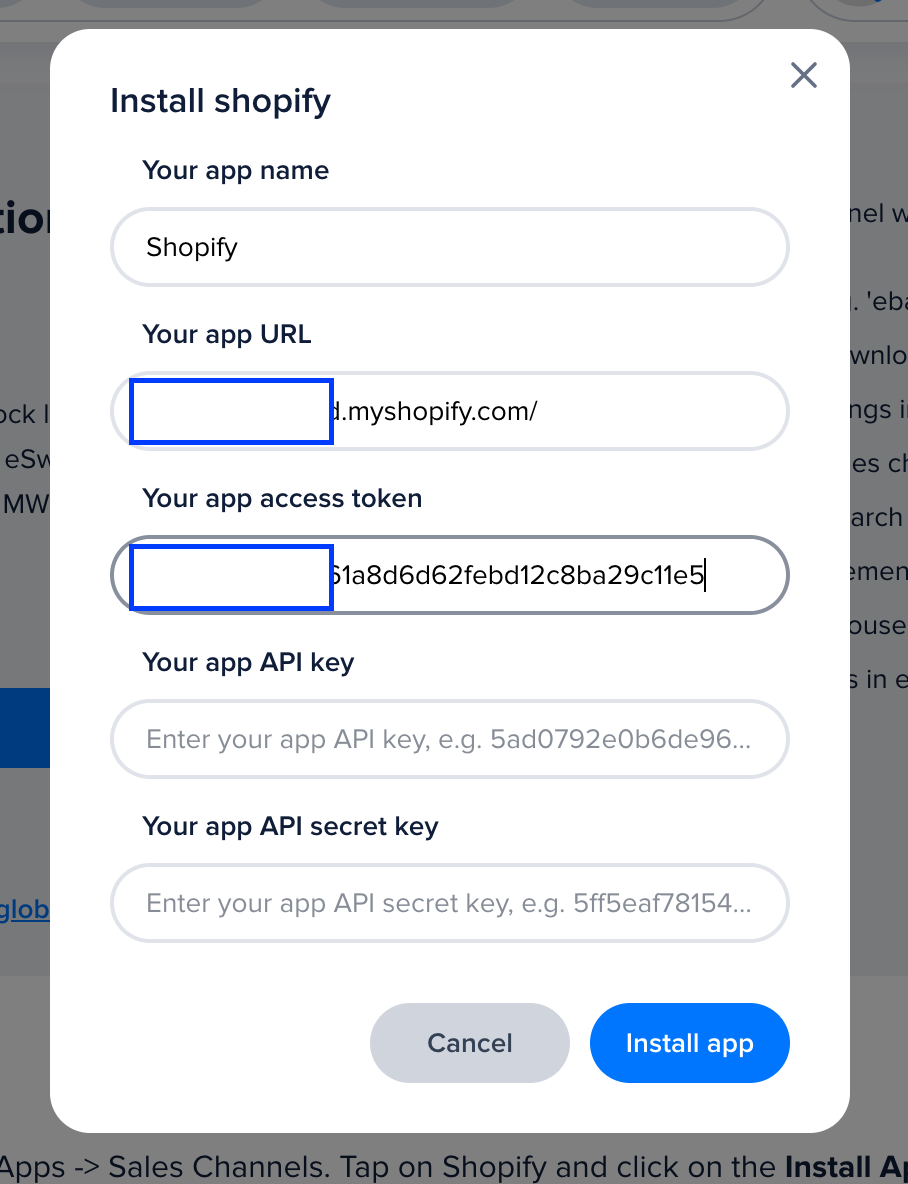
Now you need to
- Give your app a name – This is the name that you want to see in eSwap
- Your app URL – e.g eswap.myshopify.com
- App access token
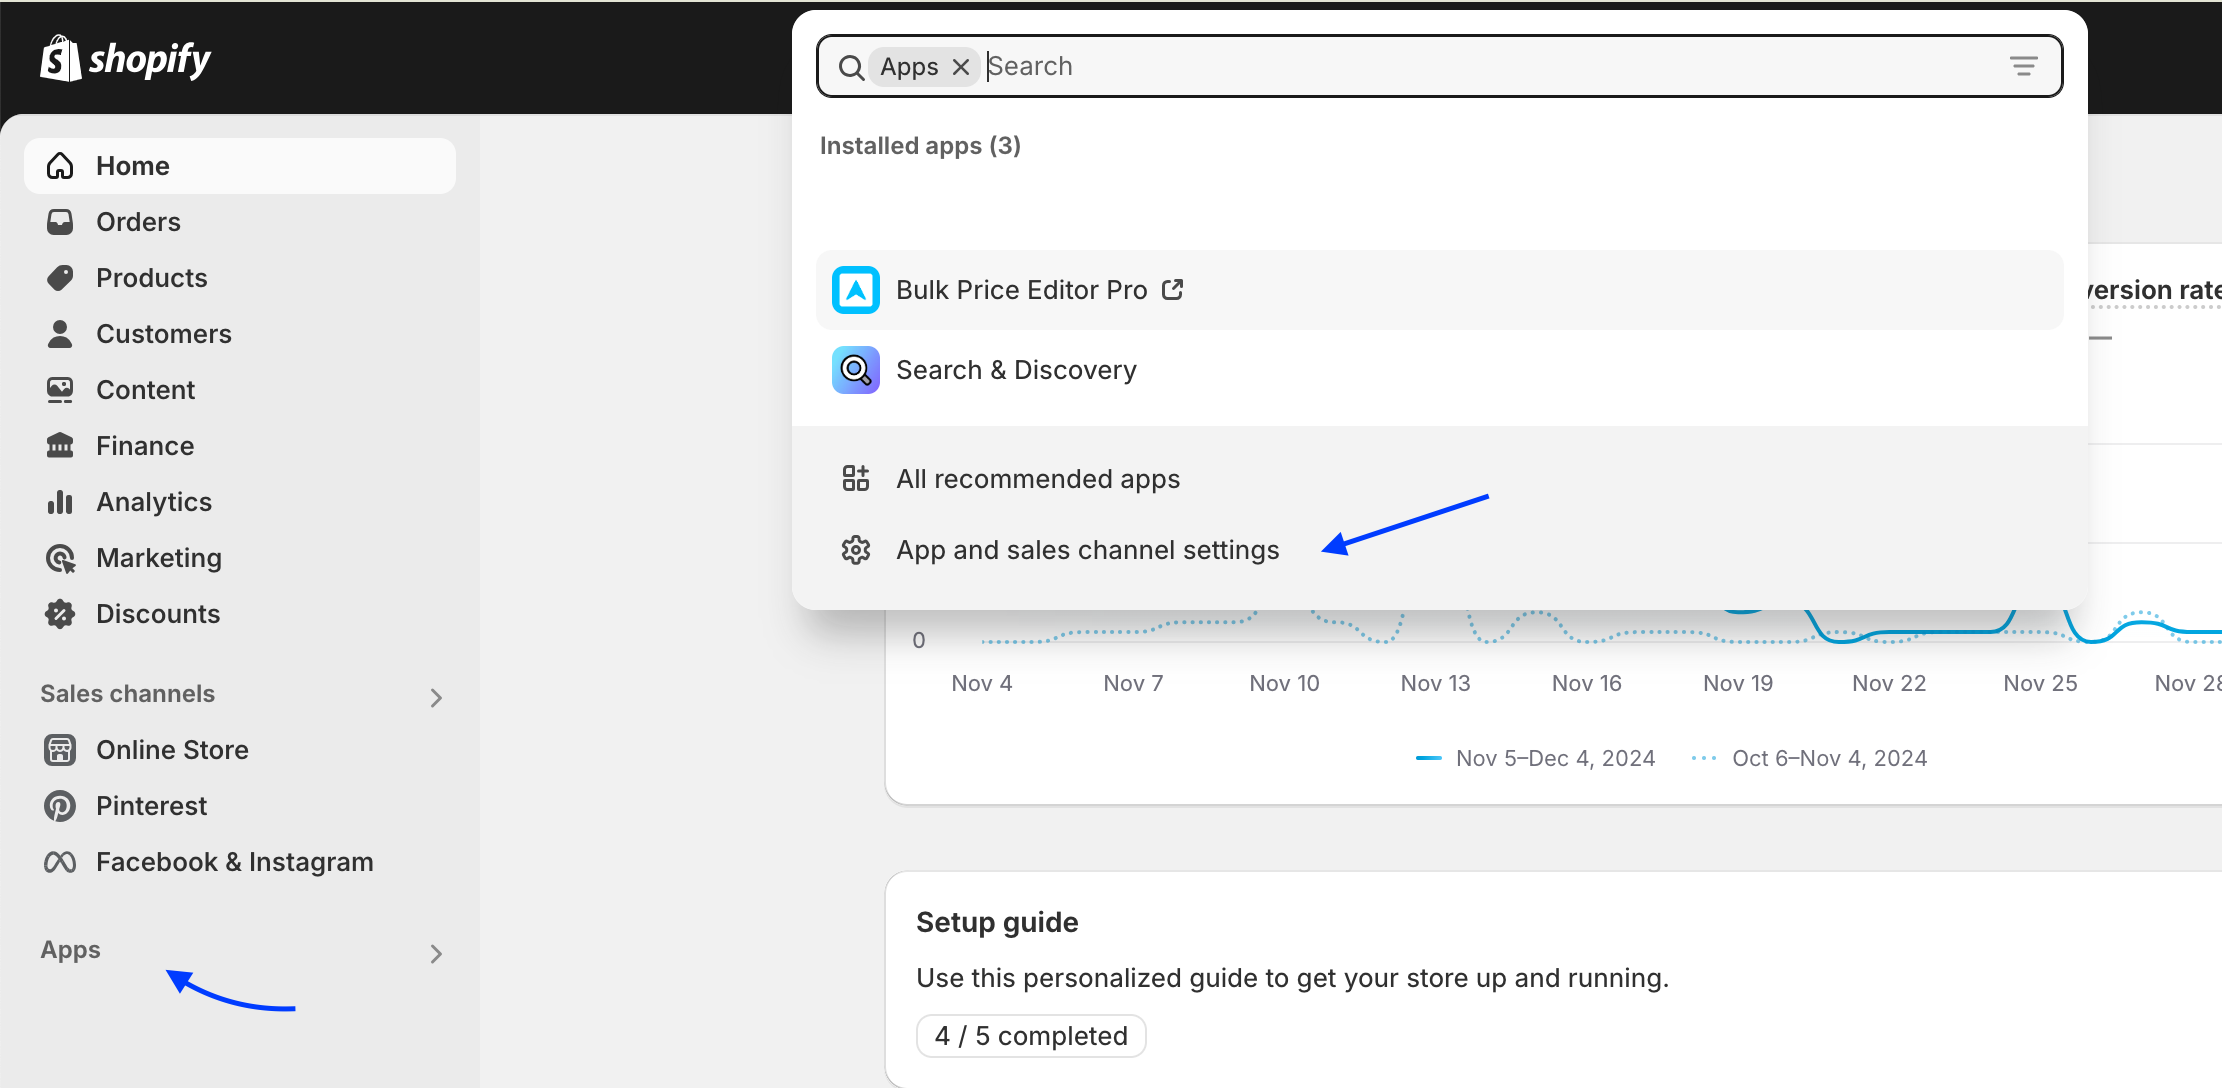
Navigate to your Shopify admin dashboard click on Apps -> Apps and Sales channel settings.

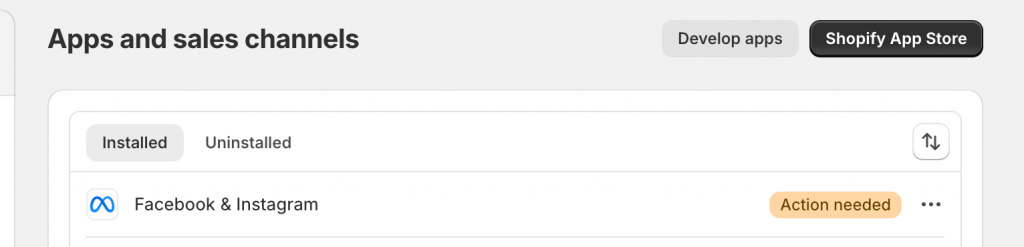
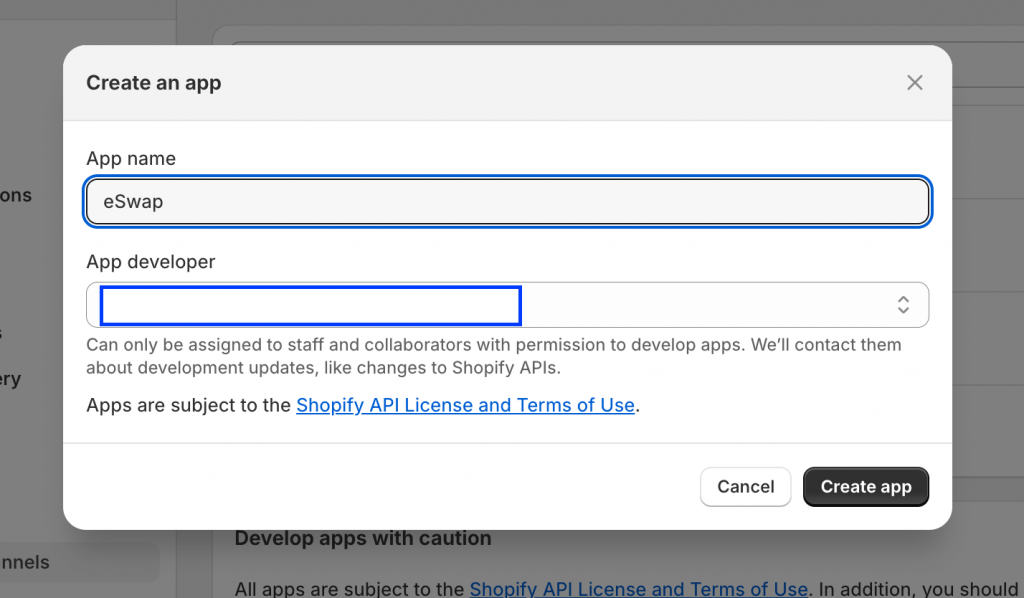
Now click on Develop Apps button then on Create app button . Give the app name eSwap and click on Create button.

Now click on Configure Admin API scopes button, check the following scopes and click on Save button.
- read_products
- write_products
- read_product_listings
- read_customers
- write_customers
- read_orders
- write_orders
- read_shipping
- read_inventory
- write_inventory
- write_fulfillments
- read_locations
After saving navigate to API credentials tab and click on Install app button you will see the confirmation modal again.
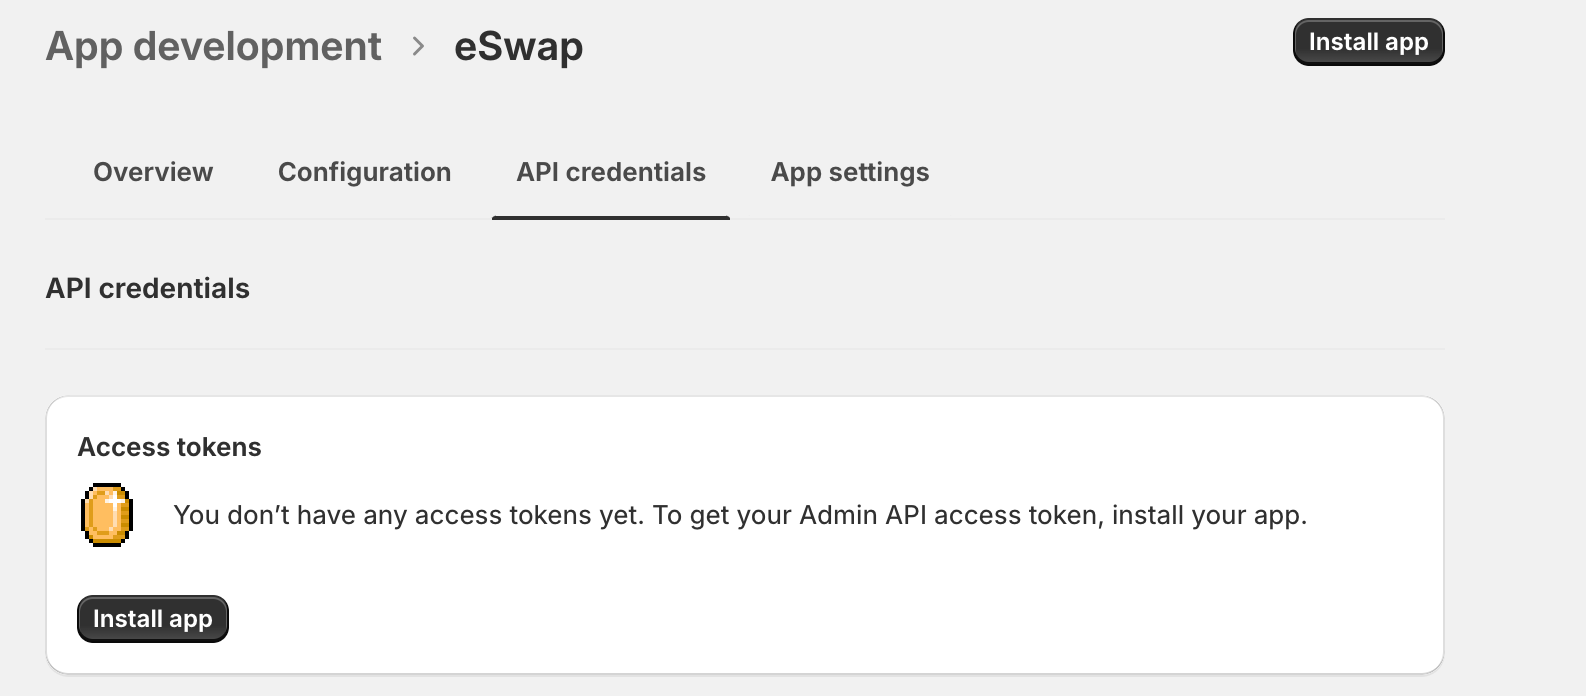
Now click on Reveal access token button.
Please note : you’ll only be able to reveal your Admin API token once. Copy and save your Admin API access token in a secure place.
Copy the access token , navigate to eSwap and paste in Your app access token input.
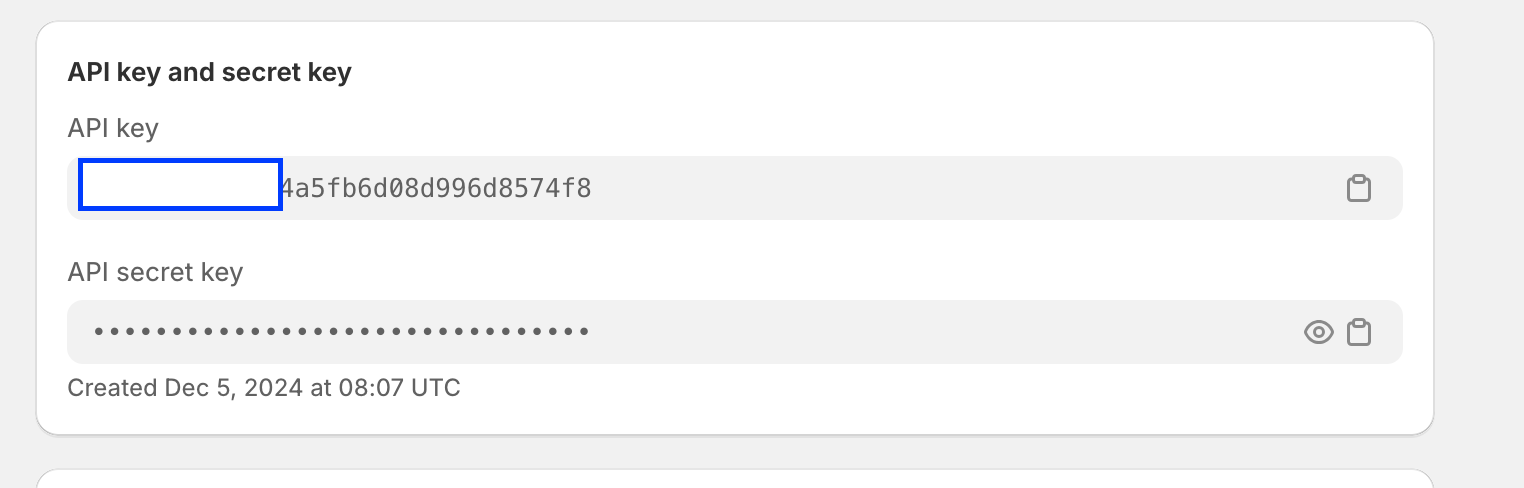
- API key
In API credentials page where you got the access token scroll down and copy API key
- API secret key – copy the secret key and past in eSwap.
Now click on Install App button in eSwap and pass the mapping flow.
- Map the warehouses or create a new one.- Shopify can have multiple locations functionality, you can map your eSwap and Shopify locations. Here you need to choose warehouse in eSwap where your Shopify stock levels will be synced. You can also create a new warehouse, for your Shopify store.
- Pricelists – Sync your Shopify prices with eSwap’s pricelists or create a new one for each one.
- Map order statuses
- On this step, we ask you to import all your data and automatically sync matching products or you can manually import them later from My Apps -> Shopify page.
- Done installation
Your app is installed and all your products, orders and customers will be imported to eSwap.