Import products in Bulk
To import products in bulk, navigate the Inventory -> Products tab, click on the Import button on the top, and select Via CSV of Via XML options. In this example, we will go forward with the CSV example.
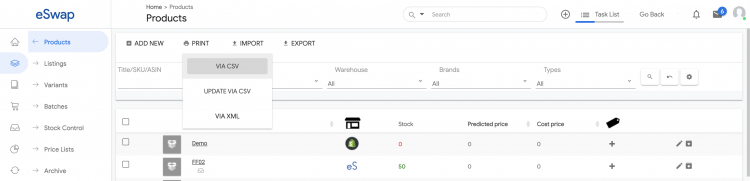
Another option is Update Via CSV which is for updating current products from a CSV file.
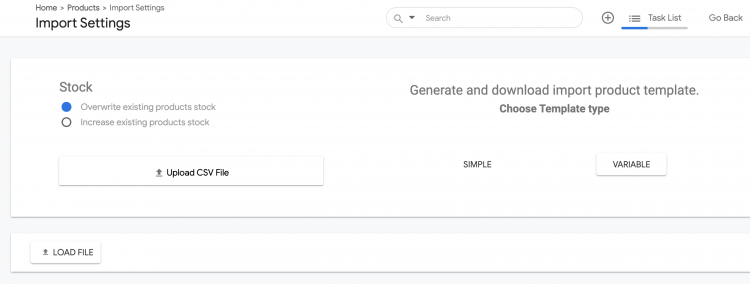
Now you will be redirected to the Import Settings screen where you will be able:
- Overwrite existing products stock (ex. your SKU1 have stock 5 and in CSV file SKU1 have stock 7, the updated stock will be 7)
- Increasing existing products stock (ex. your SKU1 have stock 5 and in CSV file SKU1 have stock 7, the updated stock will be 12)
- Update products with all attributes from a CSV file
- Generate product spreadsheet template for simple and variable products
We will then generate a CSV as a product spreadsheet template for simple products that will be used for import.
On the next step, you will need to choose what product attributes you are going to import. Some attributes are required for import like product title and SKU, so we do not recommend to uncheck them.
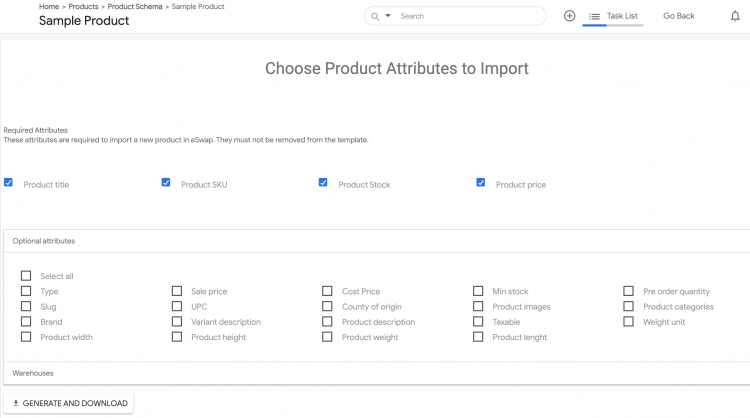
Later, you will need to choose the warehouses where you have stock to generate appropriate columns.
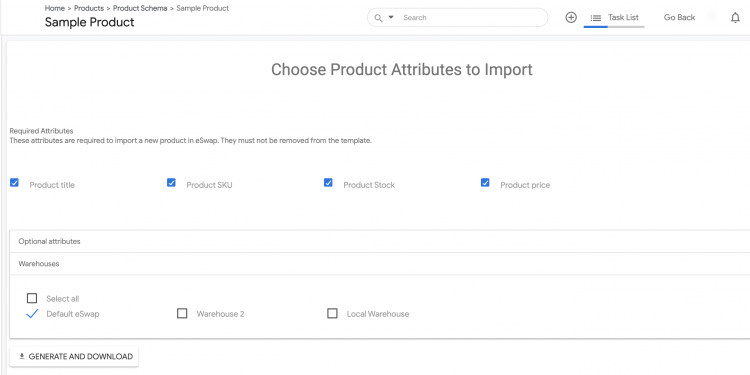
In this case, we have selected the Default eSwap warehouse and now will hit the Generate and Download button to get our CSV file. Here is the sample generated CSV which you will need to update and import.

After filling this file with appropriate details, you can click Select CSV file and later Upload a file to the server. After that eSwap will forward you to mapping screen where you can map extra fields with some fields available in eSwap.
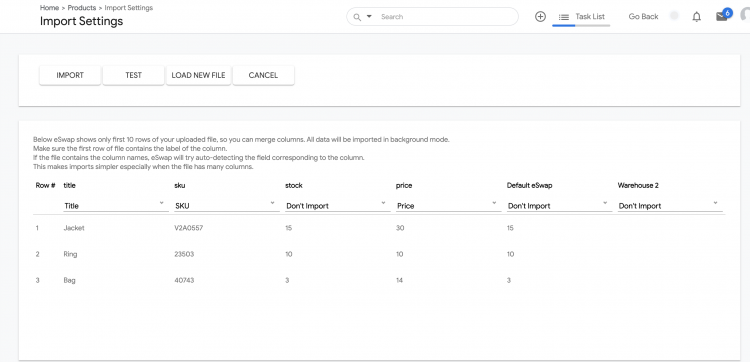
After that, you will need to click on the Import button, and you are done.