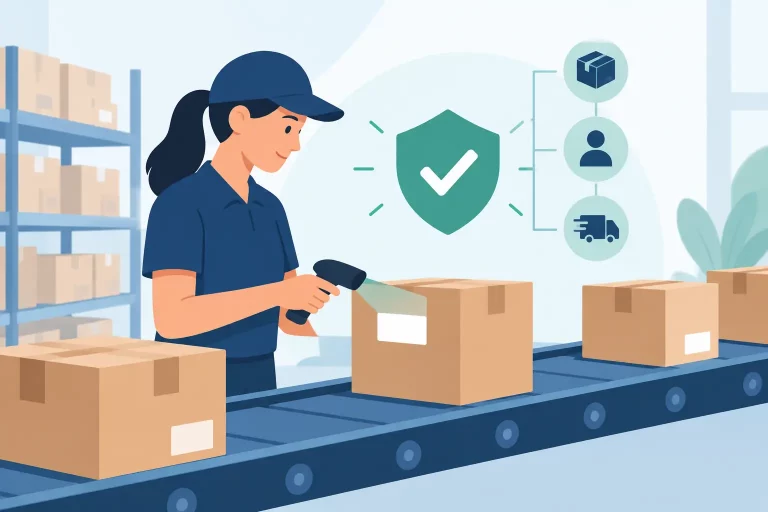
A warehouse can be full of inventory and still fail to fulfill orders efficiently. The issue is often not labor or floor space. It is that fast-moving products, reserve stock, returns, and special handling items are all competing for the same paths and processes. Knowing how to configure warehouse zones gives your team a controlled way to move inventory, direct picks, and protect order accuracy as volume grows.
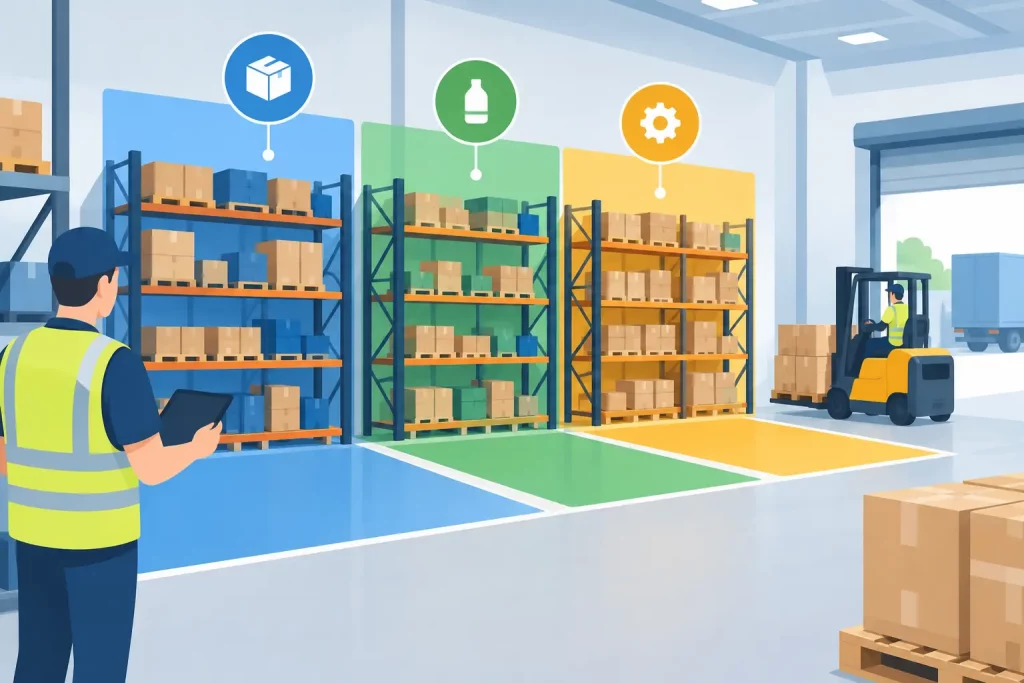
Warehouse zones turn a single storage area into a set of purposeful operating areas. When each zone has a clear role, your warehouse management system can send the right task to the right location, reduce unnecessary travel, and keep stock visible across every sales channel.
Start with the workflow, not the floor plan
Do not begin by drawing lines on a warehouse map. Start by following an order from receipt through shipment. Look at where inventory arrives, where it is checked, where it is stored, how it is replenished, where orders are picked and packed, and where exceptions occur.
This review exposes the friction that zone configuration should solve. If pickers regularly cross the building to collect top-selling items, the forward-pick area is poorly positioned or undersized. If receiving pallets sit in aisles for hours, receiving and quality-control capacity may be too limited. If returns are mixed back into available inventory before inspection, the returns process needs its own controlled zone.
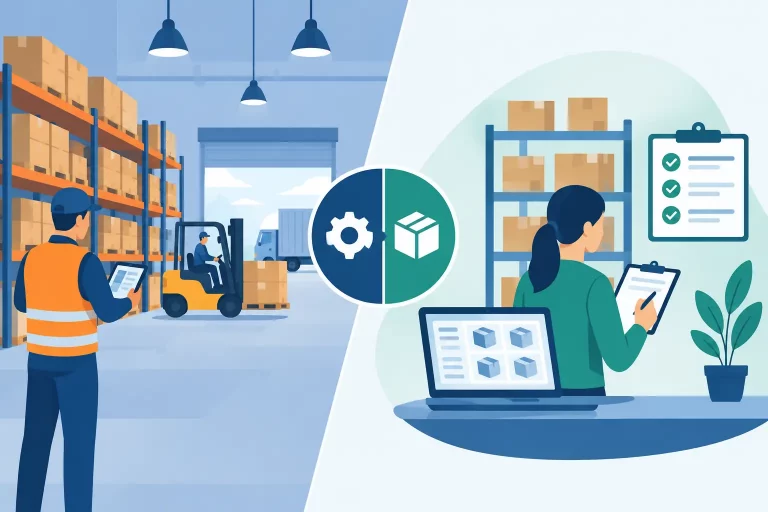
Your physical layout and your system configuration must reflect the same workflow. A location that a team member calls “bulk storage” should be set up as bulk storage in the warehouse system, with rules for what can be received, replenished, picked, or moved there.
Define the zones your operation actually needs
The best zone structure depends on order profile, SKU count, product characteristics, and fulfillment volume. A small operation may need only a few zones. A multichannel seller handling wholesale cases, direct-to-consumer parcels, and regulated products may need more detailed separation.
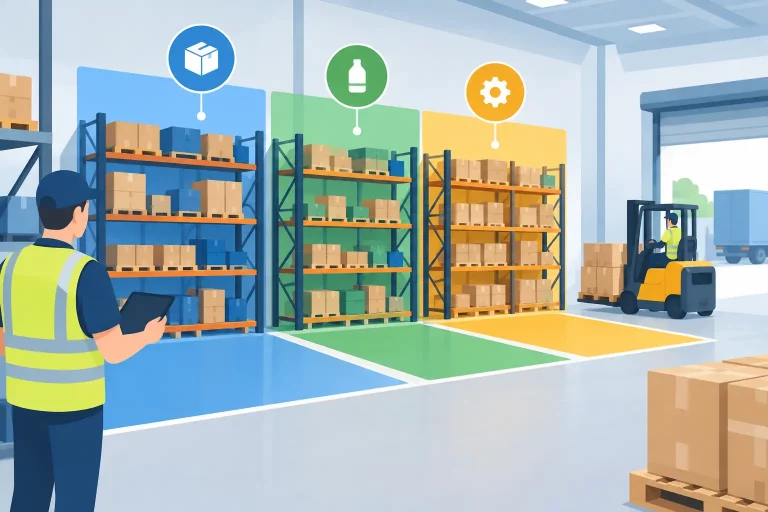
Most growing commerce operations benefit from distinct areas for receiving, inspection or quarantine, reserve storage, forward picking, packing, shipping, returns, and damaged or non-sellable inventory. These do not always require separate rooms. They require separate locations, rules, and inventory statuses.
Receiving and inspection zones
Receiving should be a controlled entry point, not a temporary staging area that becomes permanent. Inventory received here should be identifiable by purchase order, supplier, condition, and arrival date before it becomes available to sell.
For businesses that receive mixed pallets or products with frequent supplier discrepancies, add an inspection or quarantine zone. This prevents unverified units from increasing available stock on Shopify, Amazon, Walmart, or wholesale channels. The trade-off is an extra handling step, but it is usually far less costly than overselling inventory that has not been counted or approved.
Reserve and forward-pick zones
Reserve storage holds pallet quantities, overstock, and slower-moving inventory. The forward-pick zone holds the accessible stock used for daily order fulfillment. Keeping these functions separate is one of the most effective ways to improve pick speed without losing control of higher-volume storage.
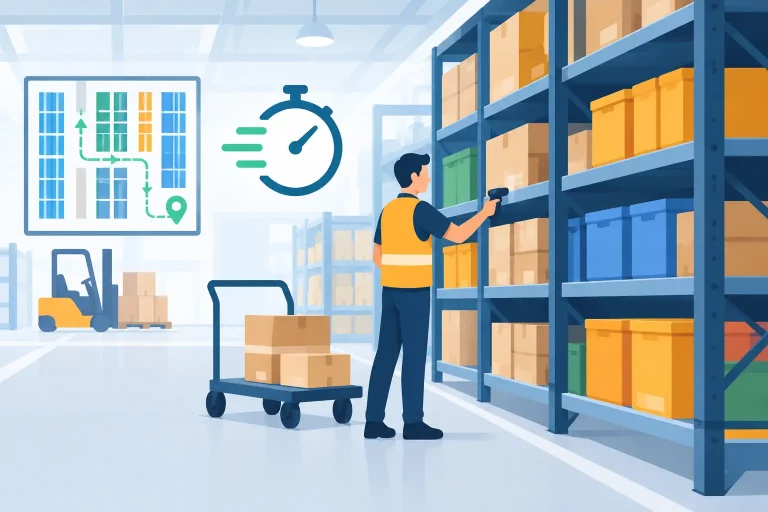
Place high-velocity SKUs close to packing stations and at ergonomic pick heights. Products that sell together can be positioned near each other when the pattern is consistent, such as a device and its compatible accessory. Do not over-optimize based on one short promotion. Use several weeks or months of order history so temporary demand spikes do not create a layout that quickly becomes inefficient.
Packing, shipping, and exception zones
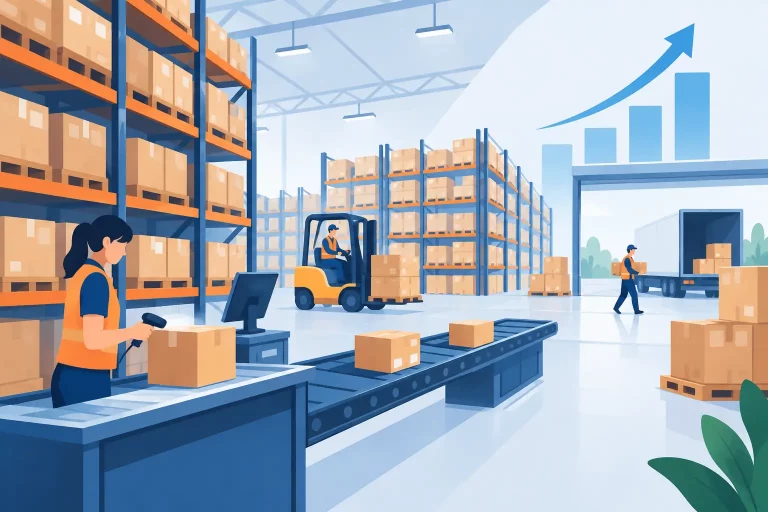
Packing stations need enough space for cartons, dunnage, labels, scales, and carrier workflows. A dedicated shipping zone gives packed orders a clear final checkpoint before carrier collection. It also makes it easier to identify orders that have been packed but not manifested or dispatched.
Create exception locations for orders with address issues, inventory shortages, payment holds, or customer-service review. These orders should not disappear into a general packing queue. Clear exception zones help the team act before late shipments become cancellations or negative marketplace performance metrics.
How to configure warehouse zones in your system
Once the physical purpose of each area is clear, configure zones in the system as operational controls rather than simple labels. Create a consistent hierarchy that moves from warehouse to zone, then aisle, bay, shelf, bin, or pallet position. The exact structure can vary, but it must be simple enough for new warehouse staff to understand immediately.
Use location names that communicate function and physical position. For example, a label such as FP-A03-B02-S04 is more useful when the team knows it refers to the forward-pick zone, aisle three, bay two, shelf four. Avoid naming conventions that rely on one employee’s memory or vague labels such as “back left” and “extra stock.”
Set each zone’s permitted activities. Receiving locations may accept inbound stock but should not be used for standard order picks. Quarantine locations should not contribute to available inventory. Reserve locations may replenish forward-pick bins, while pick faces should be prioritized for order allocation. These rules reduce accidental inventory movements and help protect the accuracy of available-to-sell quantities.
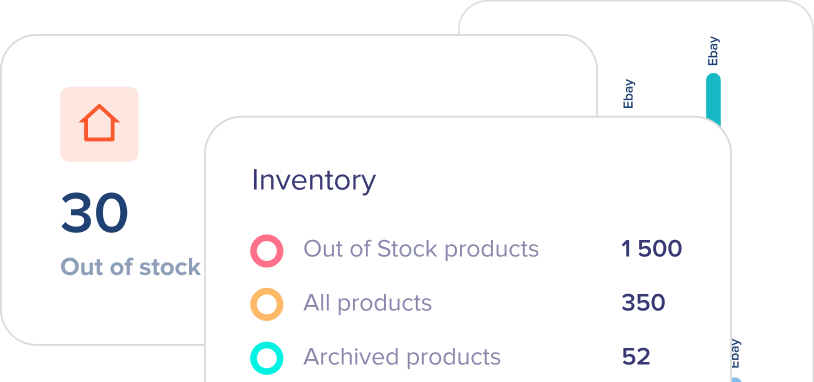
If you operate multiple facilities, configure each warehouse separately and maintain visibility at the network level. Inventory may be available in one location but unavailable for an order shipping from another. Accurate zone and warehouse assignments prevent the system from promising stock that cannot meet the required delivery window.
Set replenishment rules before pick faces run empty
A forward-pick zone only works when it stays stocked. Replenishment rules should trigger movement from reserve storage before pickers reach an empty bin. The right threshold depends on daily demand, case quantity, lead time for internal moves, and available labor.
For a fast-selling SKU, you may replenish when the pick face reaches a one-day supply. For slower products, replenishment can occur at a lower threshold or during scheduled warehouse waves. The objective is to avoid forcing pickers into reserve locations during active fulfillment while also limiting unnecessary replenishment tasks.
Use minimum and maximum quantities where your system supports them. Minimums tell the team when action is needed. Maximums prevent a small pick location from becoming overfilled, hard to count, or unsafe. Review these values after major assortment changes, seasonal demand shifts, and new channel launches.
Build pick logic around real order behavior
Zone configuration should influence how work is released to the floor. If every order is picked individually across every zone, travel time will increase quickly as volume rises. Batch, wave, cluster, or zone picking can reduce travel, but each method has trade-offs.
Batch picking works well when many orders contain single items or similar SKUs. Zone picking is useful when different team members are responsible for different warehouse areas. Wave picking can support carrier cutoffs, priority orders, or service-level commitments. For complex orders, use controls that ensure all zone picks are consolidated before packing.
The system should direct pickers to the correct location based on stock availability, pick priority, lot or expiration rules, and order commitments. It should also record every scan or confirmation at the location level. Without transaction discipline, even a well-designed zone layout will lose accuracy over time.
Protect inventory accuracy with status-based zones
Physical placement alone is not enough. Inventory also needs a status that determines whether it can be allocated, sold, transferred, or written off. This is especially relevant for returns, damaged goods, recalled items, samples, and inventory awaiting quality checks.
A returned item should move first into a returns or inspection zone. After review, it can be returned to available stock, assigned to refurbishment, moved to a clearance process, or marked non-sellable. That decision must update both the location and the inventory status. Otherwise, an item can appear available online while sitting unresolved in a returns cart.
An integrated operations platform such as eSwap can centralize these warehouse movements alongside orders, listings, shipping, purchasing, and channel inventory. That shared visibility matters because every location change can affect what customers see as available to buy.
Measure zone performance and adjust deliberately
Zone layouts are not permanent. Review performance regularly using operational measures such as pick rate, average travel time, replenishment frequency, inventory adjustments, mis-picks, order cycle time, and dwell time in receiving or quarantine.
If one zone consistently creates delays, find the cause before expanding it. The issue may be poor SKU slotting, an unclear replenishment trigger, insufficient scan compliance, or a process that sends too many exceptions to the same area. Changes should be tested against data, not made solely because a location feels crowded during one busy shift.
A well-configured warehouse makes the next correct action obvious. Inventory has a defined place, each movement has a recorded purpose, and orders flow through the facility without forcing your team to search, guess, or work around disconnected systems. That level of control is what lets fulfillment capacity grow without letting operational chaos grow with it.